I recently completed my Final Project for the 3D Animation and VFX course at Vancouver Film School, and I want to share my development process with you. The project's main objective was to develop a character for a video game running on Unreal Engine, and to study the industry-standard process in-depth


Pre-Production
Inspired by some of my favorite games such as Resident Evil, The Last of Us, and Uncharted, I set out to create a character that would not only be visually appealing but also meet industry-standard requirements. To achieve this, I started by creating a concept art with the theme "guy in the forest carrying an axe," using my roommate Damir's face as a reference model. I then quick-modeled a proxy to discuss my ideas with my mentors from VFS.


The Head

With pre-production finished, I started working on the final model of the head, in my opinion, the most complex part of a character creation for the reason that it's an asset that is subject to change at any and every moment of the process. With this in mind, I changed the order, which normaly starts on the highpoly version and then the process of retopologize. The trick was to use the same mesh for both low and high mesh, so I could make all changes at once when necessary.
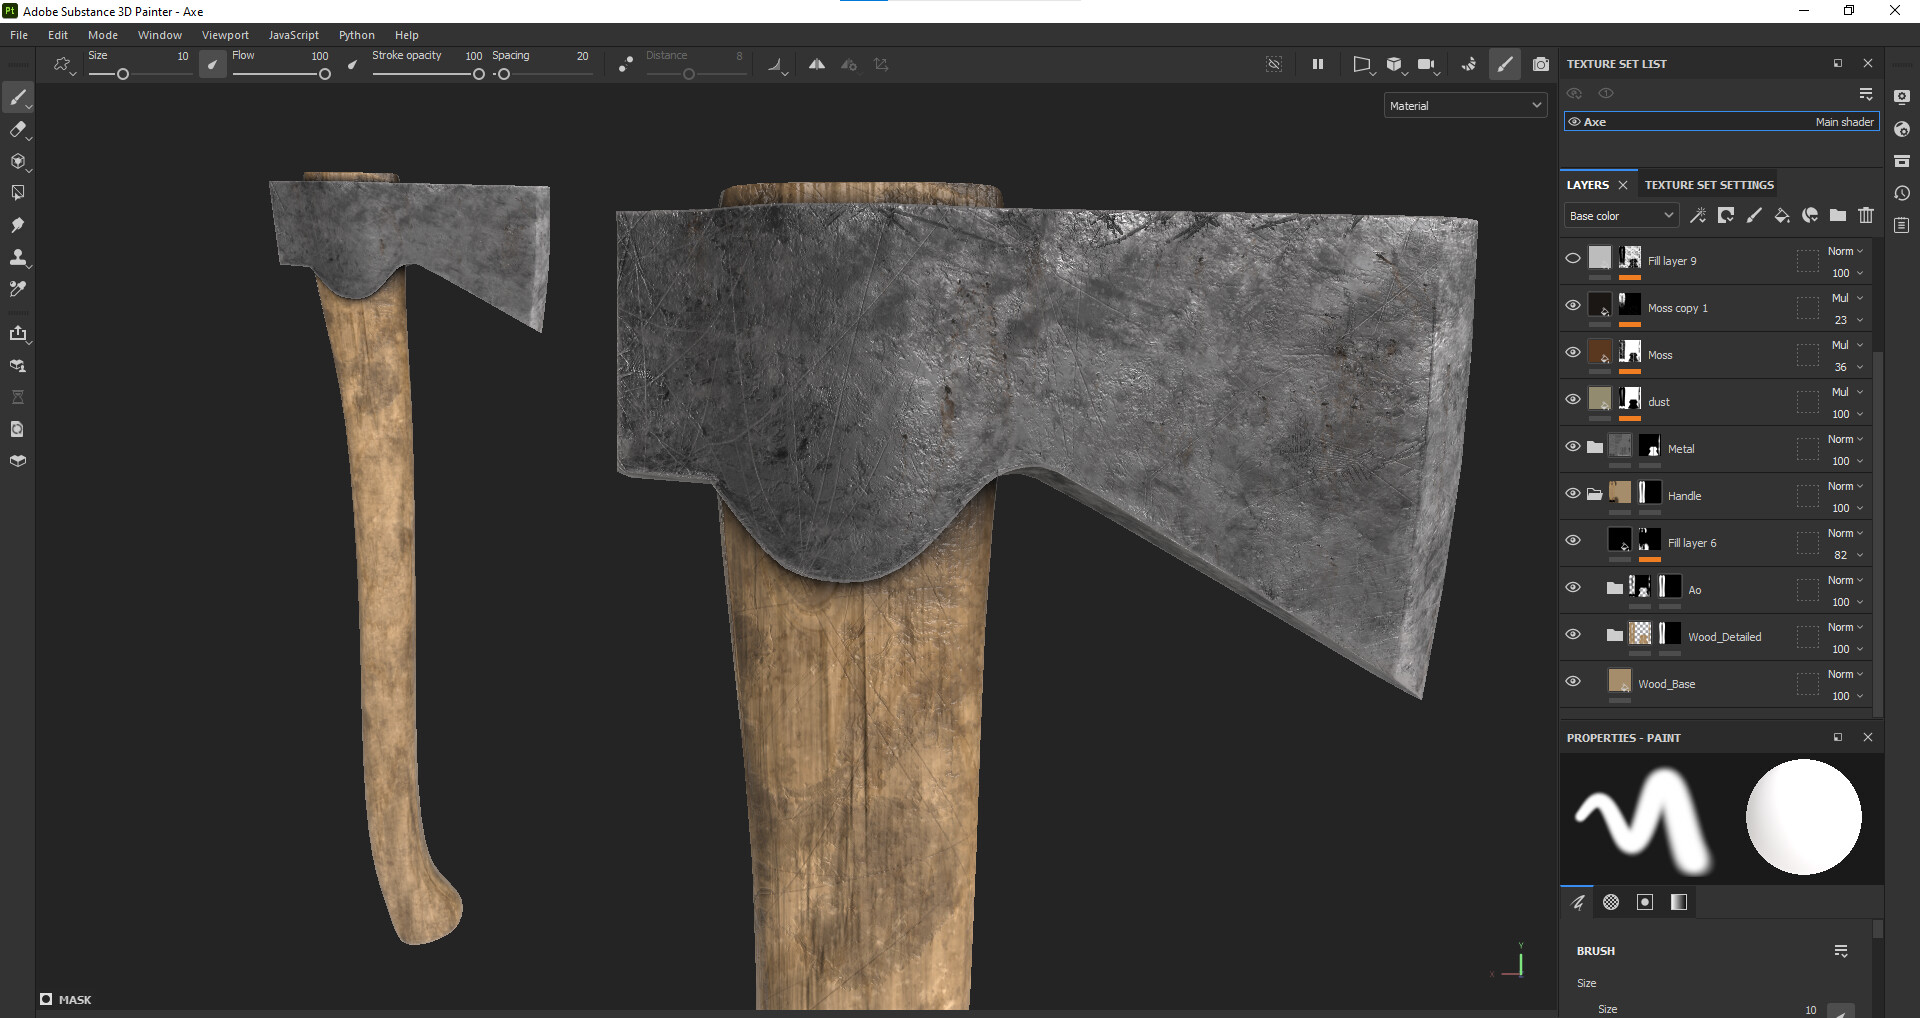
I sculpt the details using TexturingXYZ's multi-channel pack, and the surfacing was made with Substance 3D Painter.


Body and Props
Cloth was made with Marvelous Designer




The Hair

Creating the hair was an interesting and fun experience. I realized that it needed as much attention as the face, so I carefully planned how the cards should look like on top of the model. Using Fibershop, I generated the hair maps and used the GS CurveTools plugin to hand place each clump on his head. Mixing different cards gave a three-dimensional effect, which was the intended outcome.


Cards Placing

Rigging


For the body I used Auto-Rig Pro plugin for Blender and for the face I used Faceit. Those plugins saved me a LOT of time since rigging wasn't a part of the focus on this project. 
With Faceit I could easily create all the blendshapes with some little manual adjustments. This plugin is also really great for making facial mocap.
Unreal
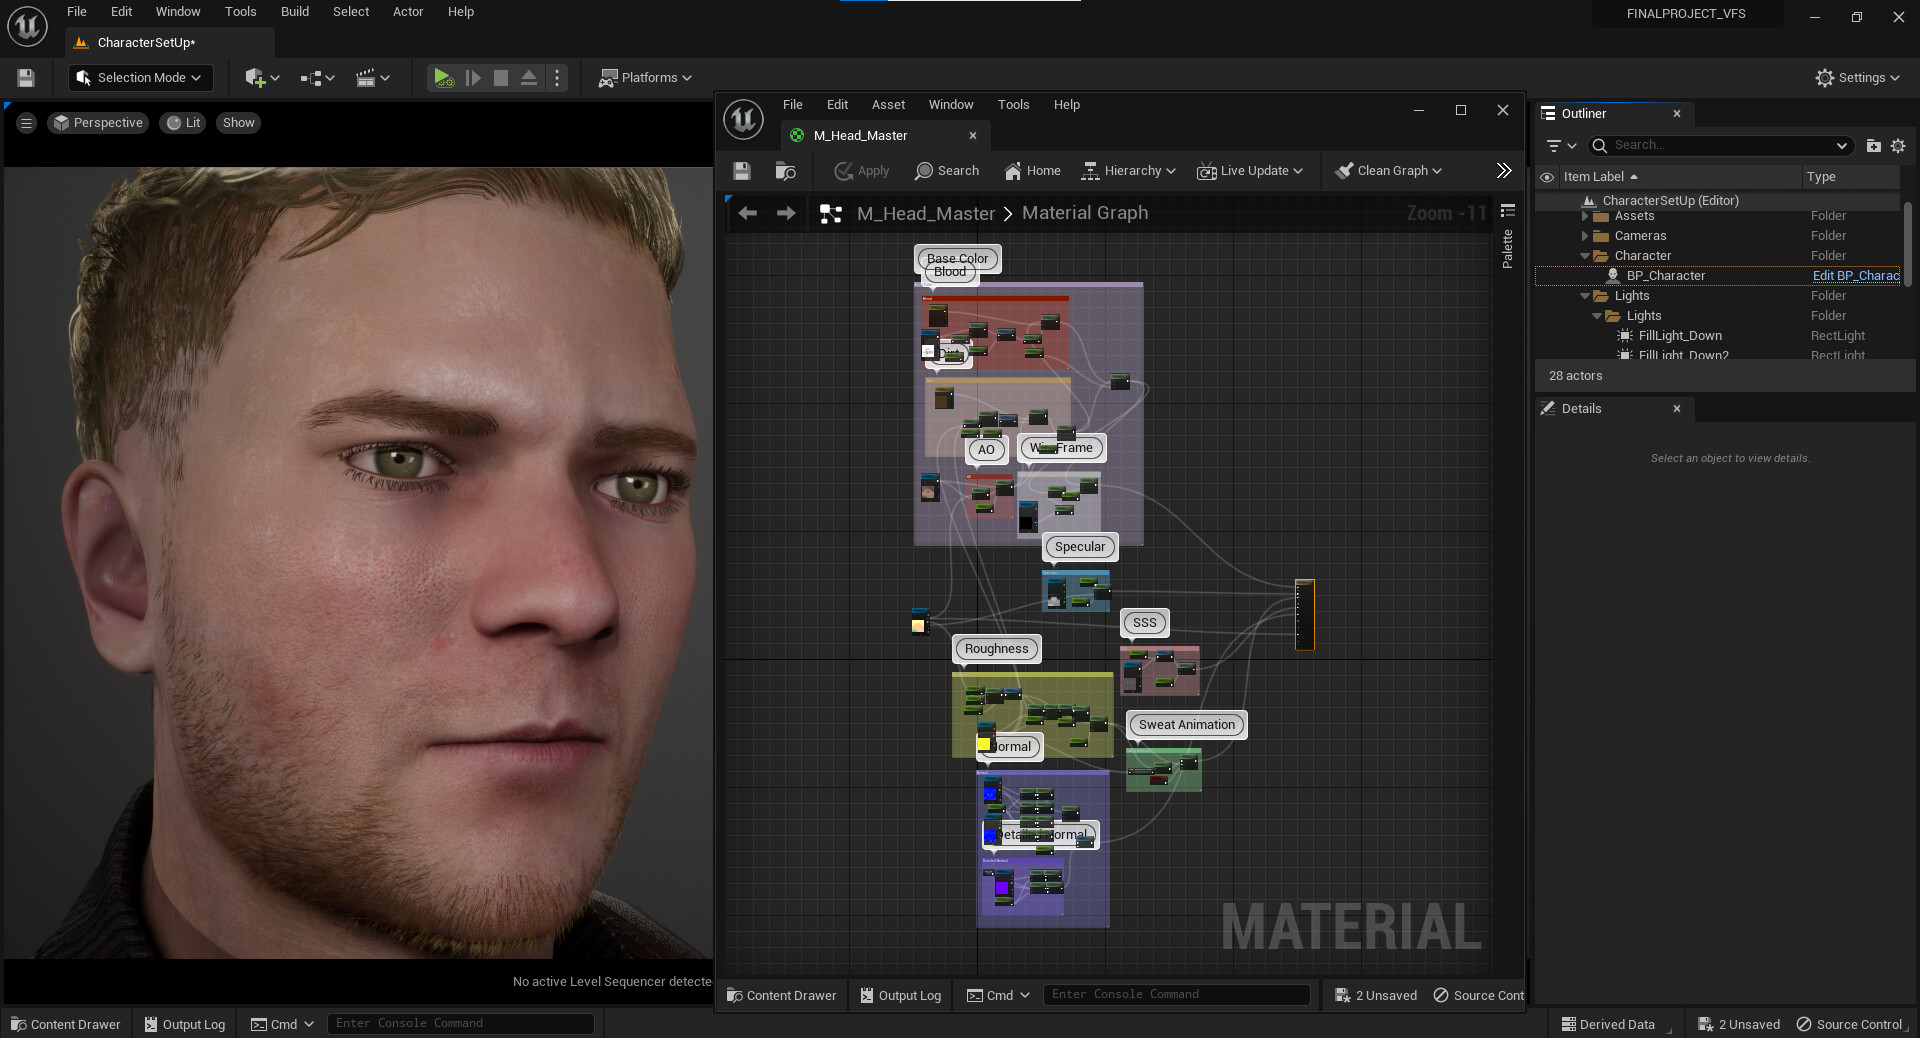
Time to bring all together in Unreal. It was fun setting up the materials into instances, cause I could make some tests, like adding different textures such as dirt, blood and sweat (inspired by The Technical Art of The Last of Us Part II by Waylon Brinck and Steven Tang) to bring more details for the character. For the eyes, I later used the material that comes with Metahuman. To build the hair material, I followed this amazing guide by TriGon.
Unreal Progress


Head Shader

Sweat System

Hair Material Instance


I hope you've enjoyed this breakdown and found it useful somehow! Thanks!!